在 Apple Silicon Mac 上开发 STM32
配置开发环境
软件安装
1. STM32Cubemx
STM32Cubemx(官方下载) 是 x86 架构的,在 Apple silicon 上运行需要 rosetta2 的支持。
安装时,需要右键
显示包内容,然后在Contents/MacOS点击安装包
2. OpenOCD
OpenOCD(Open On-Chip Debugger)是一个开源的调试工具(源码),提供针对嵌入式设备的调试、系统编程和边界扫描功能。但是在 Mac 无法直接使用,因此这里使用一个为 Mac 编译好的 xpack-dev-tools/openocd-xpack,进入到 Releases 中下载 xpack-openocd-<version>-darwin-arm64.tar.gz。
解压后添加到环境变量中,这里使用 ~/.zshrc,添加如下内容:
export OPENOCD_HOME="/path/to/xpack-openocd-<version>" # openocd
export PATH=$PATH:$OPENOCD_HOME/bin
3. ARM-GCC 工具链
arm-none-eabi-gcc 是一个开源的 ARM 架构的编译器,这里使用 GNU Arm Embedded Toolchain。
官方没有提供 Apple Silicon 的版本,因此这里使用一个为 Mac 编译好的项目 xpack-dev-tools/arm-none-eabi-gcc-xpack,进入到 Releases 中下载 xpack-arm-none-eabi-gcc-<version>-xpack-darwin-arm64.tar.gz。
解压后添加到环境变量中,这里使用 ~/.zshrc,添加如下内容:
export ARM_GCC_HOME="/path/to/xpack-arm-none-eabi-gcc-<version>" # arm-none-eabi-gcc
export PATH=$PATH:$ARM_GCC_HOME/bin
代码环境
初始化项目
- 创建项目 打开 STM32CubeMX
新建项目 File -> New Project
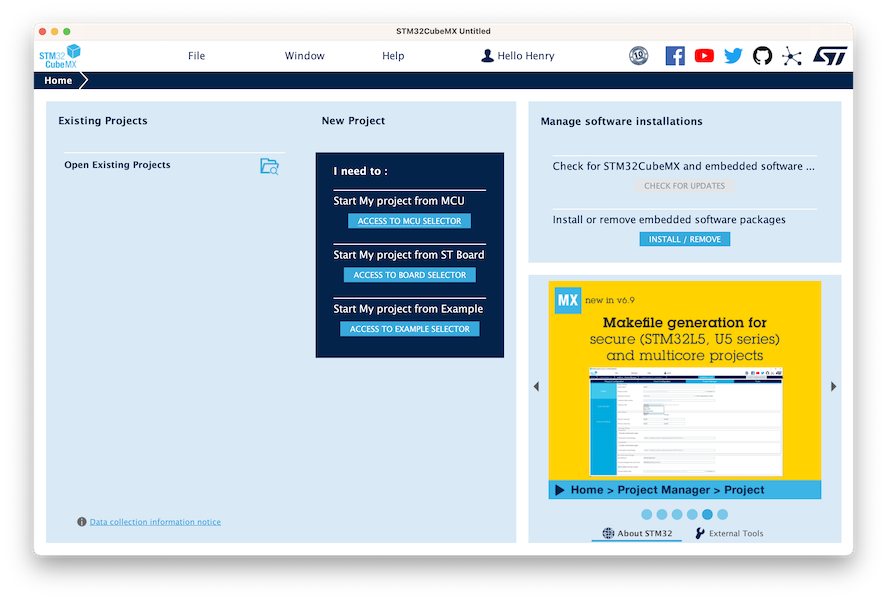
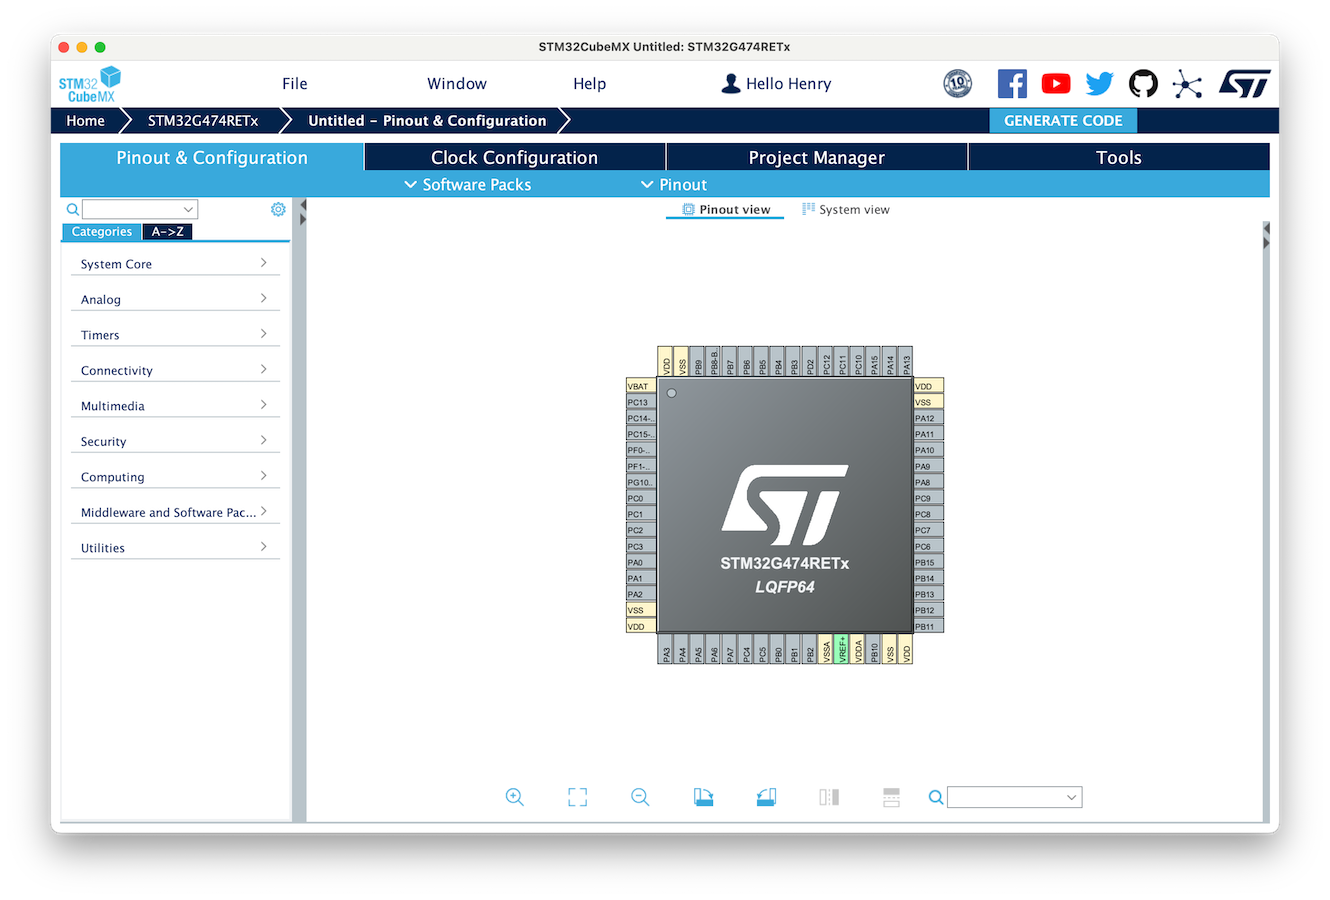
选择芯片(左侧 Commercial Part Number 搜索),然后右上角 Start Project
- 配置项目
Pinout&Configuration: 设置芯片 Pinout
Project Manger -> Project: 设置项目名称和路径,
Toolchain/IDE选择Makefile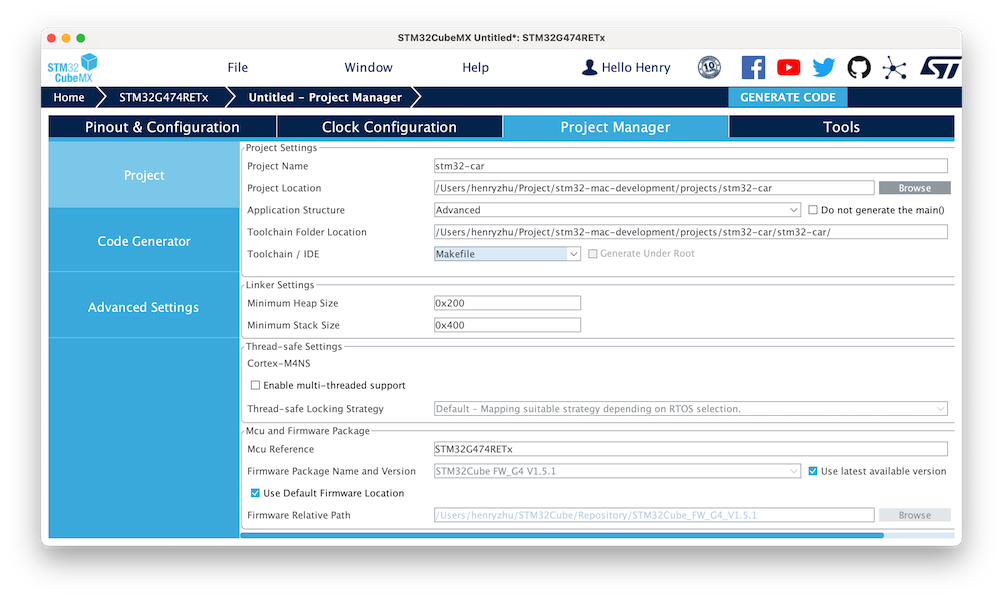
Project Manger -> Code Generator: 选择
Copy only the necessary library files(不要复制全部库目录,否则项目很大)。勾选Generate peripheral initialization as a pair of '.c/.h' files per peripheral,这样会生成.c/.h文件,方便查看和修改。
项目编译和烧录
编译工程
进入到工程目录下,执行 make,编译成功后会生成 build 目录,包含编译后的文件。该过程会结合 arm-none-eabi-gcc 进行编译,具体细节可以查看 Makefile。
arm-none-eabi-size build/stm32-car.elf
   text    data     bss     dec     hex filename
   3564      20    1572    5156    1424 build/stm32-car.elf
arm-none-eabi-objcopy -O ihex build/stm32-car.elf build/stm32-car.hex
arm-none-eabi-objcopy -O binary -S build/stm32-car.elf build/stm32-car.bin
使用 OpenOCD 烧录到开发板
运行下面的命令,启动 OpenOCD,连接到开发板。
export openocd_scripts=$OPENOCD_HOME/openocd/scripts
openocd \
    -f $openocd_scripts/interface/stlink.cfg \
    -f $openocd_scripts/target/stm32g4x.cfg
如果出现 “macos 无法验证“openocd的开发者。你确定要打开它吗?”,到
系统设置 -> 安全性与隐私 -> 通用,点击“仍要打开”即可。
出现以下内容,表示连接成功,其中可以获得**三种端口连接协议方式(tcl,telnet,gdb)**和其他一些一些信息
- tcl 监听端口:6666
- telnet 监听端口:4444
- gdb 监听端口:3333 (调试功能使用)
- 时钟频率:2000 kHz
xPack Open On-Chip Debugger 0.12.0-01004-g9ea7f3d64-dirty (2023-01-30-17:03)
Licensed under GNU GPL v2
For bug reports, read
        http://openocd.org/doc/doxygen/bugs.html
Info : auto-selecting first available session transport "hla_swd". To override use 'transport select <transport>'.
Info : The selected transport took over low-level target control. The results might differ compared to plain JTAG/SWD
Info : Listening on port 6666 for tcl connections
Info : Listening on port 4444 for telnet connections
Info : clock speed 2000 kHz
Info : STLINK V3J9M3 (API v3) VID:PID 0483:374E
Info : Target voltage: 3.285220
Info : [stm32g4x.cpu] Cortex-M4 r0p1 processor detected
Info : [stm32g4x.cpu] target has 6 breakpoints, 4 watchpoints
Info : starting gdb server for stm32g4x.cpu on 3333
Info : Listening on port 3333 for gdb connections
保持上述连接的状态下,在另一个终端中,启动 telnet,连接到 OpenOCD
telnet localhost 4444
# 连接成功后,输入
> halt  # 目标芯片挂起,相当于关机
# > flash write_image erase <需要烧写的目标文件>
> flash write_image erase build/stm32-car.bin
> reset # 目标芯片复位
也可以一次性执行
export openocd_scripts=$OPENOCD_HOME/openocd/scripts
openocd \
    -f $openocd_scripts/interface/stlink.cfg \
    -f $openocd_scripts/target/stm32g4x.cfg \
    -c init \
    -c "reset halt; wait_halt; flash write_image erase build/stm32-car.bin 0x08000000;" \
-c "reset run; shutdown"-c表示要执行的选项,init初始化wait_halt是等待目标芯片挂起,必须有